Gauntlet2D
Unreal Port P1: Textures and Tiles and Flipbooks, Oh My!!
Introduction:
I originally created Gauntlet 2D for the GameDev.TV 2024 jam. It marked my first experience participating in a game jam. However, after completing it, I made a significant decision: I switched my focus from Unity to Unreal Engine. The catch? I knew next to nothing about Unreal!
For the past month or two, I’ve immersed myself in learning Unreal Engine. My specific focus has been on 2D development, as I find it more manageable for solo game development. Now that I feel comfortable navigating the Unreal editor and coding in C++, it’s time to embark on my own projects.
But before I dive into new endeavors, I’ve decided to document my journey porting Gauntlet 2D. I figured that the process would reinforce my learning and provide valuable insights. I’ll break it down into multiple parts, starting with importing assets and preparing them for Unreal development.
Stay tuned for updates as I share my progress!
Disclaimer: I'm fairly new Unreal and have only been learning game dev for about a year now so there may actually be easier solutions to problems I document. Feel free to let me know so that I can continue to learn!
Project Setup:
The first difference I noticed in developing 2D games in Unreal engine vs Unity is just how burdensome setup is. In Unity, setup for 2D games is as simple as choosing the 2D template when creating the project. Unreal on the other hand requires you to disable some default settings that could make your 2D games look bad. Here are the settings I've disabled in the project settings for Gauntlet (There may be more changes that I make in the future as I continue to port the game):
- Disabled Motion blur
- Disabled Anti-aliasing
- Disable Auto Exposure, setting it to manual and setting Auto Exposure bias to 0.
I've noticed in previous 2D projects that 2D games still look off when playing them despite changing the above settings. After some troubleshooting and research, I believe this is due to Unreal's default post processing effects and specifically, the tone mapper! I think following the instructions in this blog post I found (Link below) alleviates most of the issue:
How to completely disable Tonemapper in Unreal Engine | Georgy's Tech Blog
I also enabled the Paper2D and PaperZD plugins in the editor. Finally, I added Paper2D and the enhanced Input (going to try to use this for input) Modules to the dependencies in the build.cs file.
Textures and Sprites:
Paper2D makes it pretty easy to import Textures and Sprites. I simply moved all the assets (Mostly PNG files) I used in my Unity project to Unreal, highlighted them in Unreal and applied the Paper2D texture settings under Sprite Actions.
One thing I noticed when extracting sprites from those PNGs in Unreal though was that I only had 2 extract options: Auto and Grid. This was a problem because Unity allows you to arbitrarily create as many boxes around sprites as you want to extract them. I used this feature to create my Skeleton's Intro animation in Unity based on the sprite sheet I had of its landing animation. Unfortunately, I couldn't figure out a way to do this in Unreal.
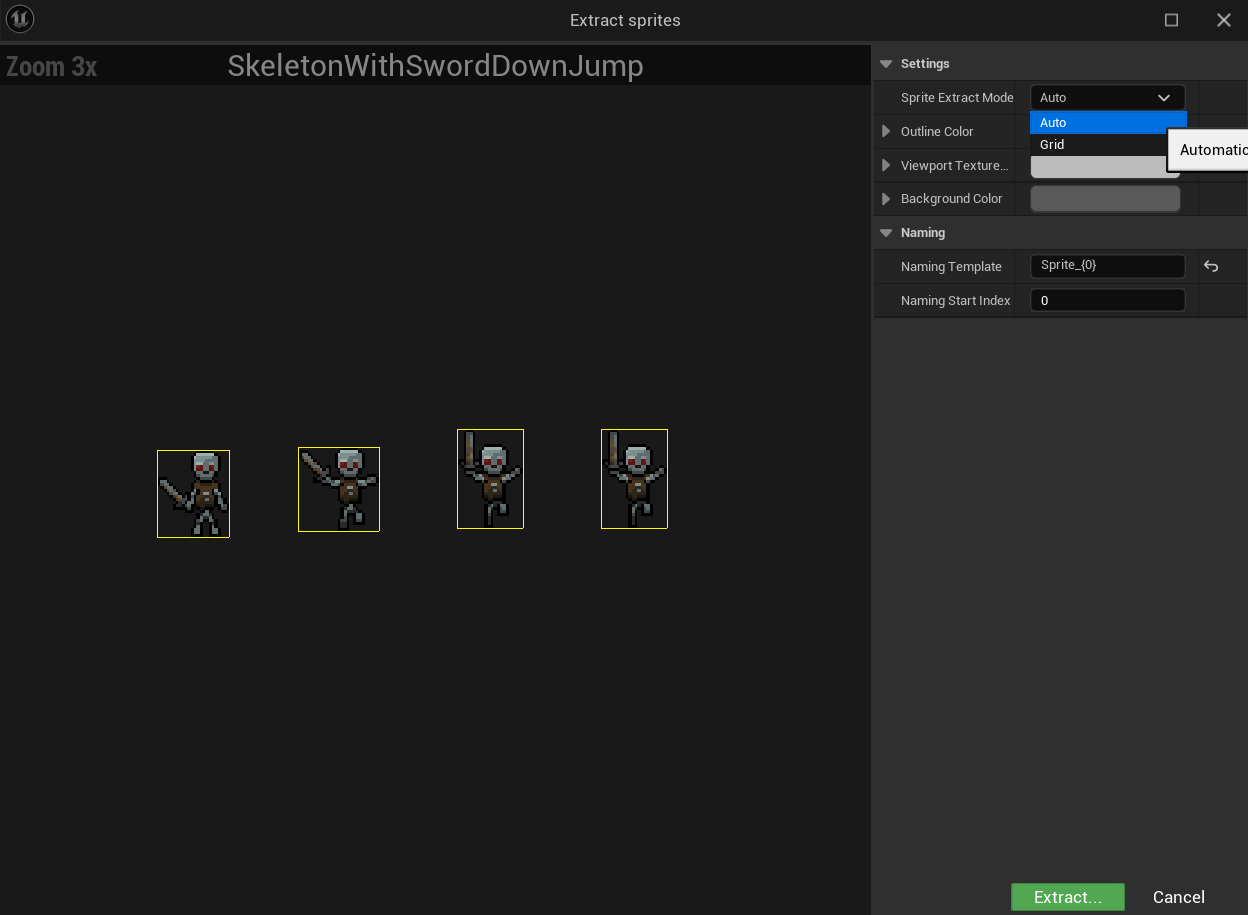
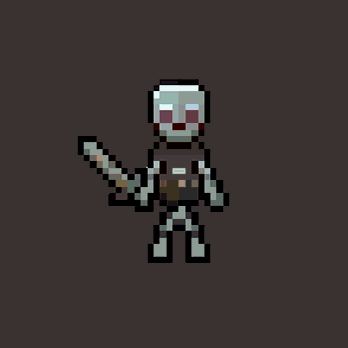
In the end, I used Unity's Recorder plug in the record the Skeleton's intro animation in Unity and export PNGs of the recording. I had to remove the background for each image in Photoshop and It's not perfect, but I was then able to import those images into Unreal and create my flipbooks based on that.
Speaking of flipbooks!
Flipbooks:
I love flipbooks! Creating an animation in Unreal is as simple as highlighting the extracted sprites, right clicking, and choosing "Create flipbook". It's easy to control the animation speed by choosing the FPS in the flipbook editor. I still think Unity gives you more options, but I do like the simplicity in setting them up in Unreal. I'll probably end up adjusting these as I build the game to get it feeling as much like the Unity version as possible.
Tiles and Tile Maps:
In my opinion, Tiles and Tile maps are where Unreal really falls short compared to Unity. Creating a tile sheet in Unreal is easy, but adjusting things like collision is extremely tedious. As far as I know, it seems you have to click on each tile, add a box collider, and adjust that collider for each individual tile! In Unity, it's easy to add a tile map collider 2D to a layer and call it a day. If someone knows a better way to do this in Unreal, please tell me!
Actually creating maps is also a bit tedious compared to Unity. In Unity, you can build your level right in the editor and see your other game objects within your map as you build it. Unreal has a separate editor for building tile maps so you have to build the tile map then add it to the viewport. You could technically edit the map on one side of your screen and see the changes within the viewport on another, but in my opinion, Unity does it better.
There are also a ton of Tile map features in Unity that really blow Unreal's out of the water! The biggest one in my opinion is Unity's rule tiles. I'll post a link below if you are unfamiliar with them, but they essentially allow you to create rules for placing tiles in a world that very quickly allow you to build large levels. Unreal needs this!
Using Rule Tiles - Unity Learn
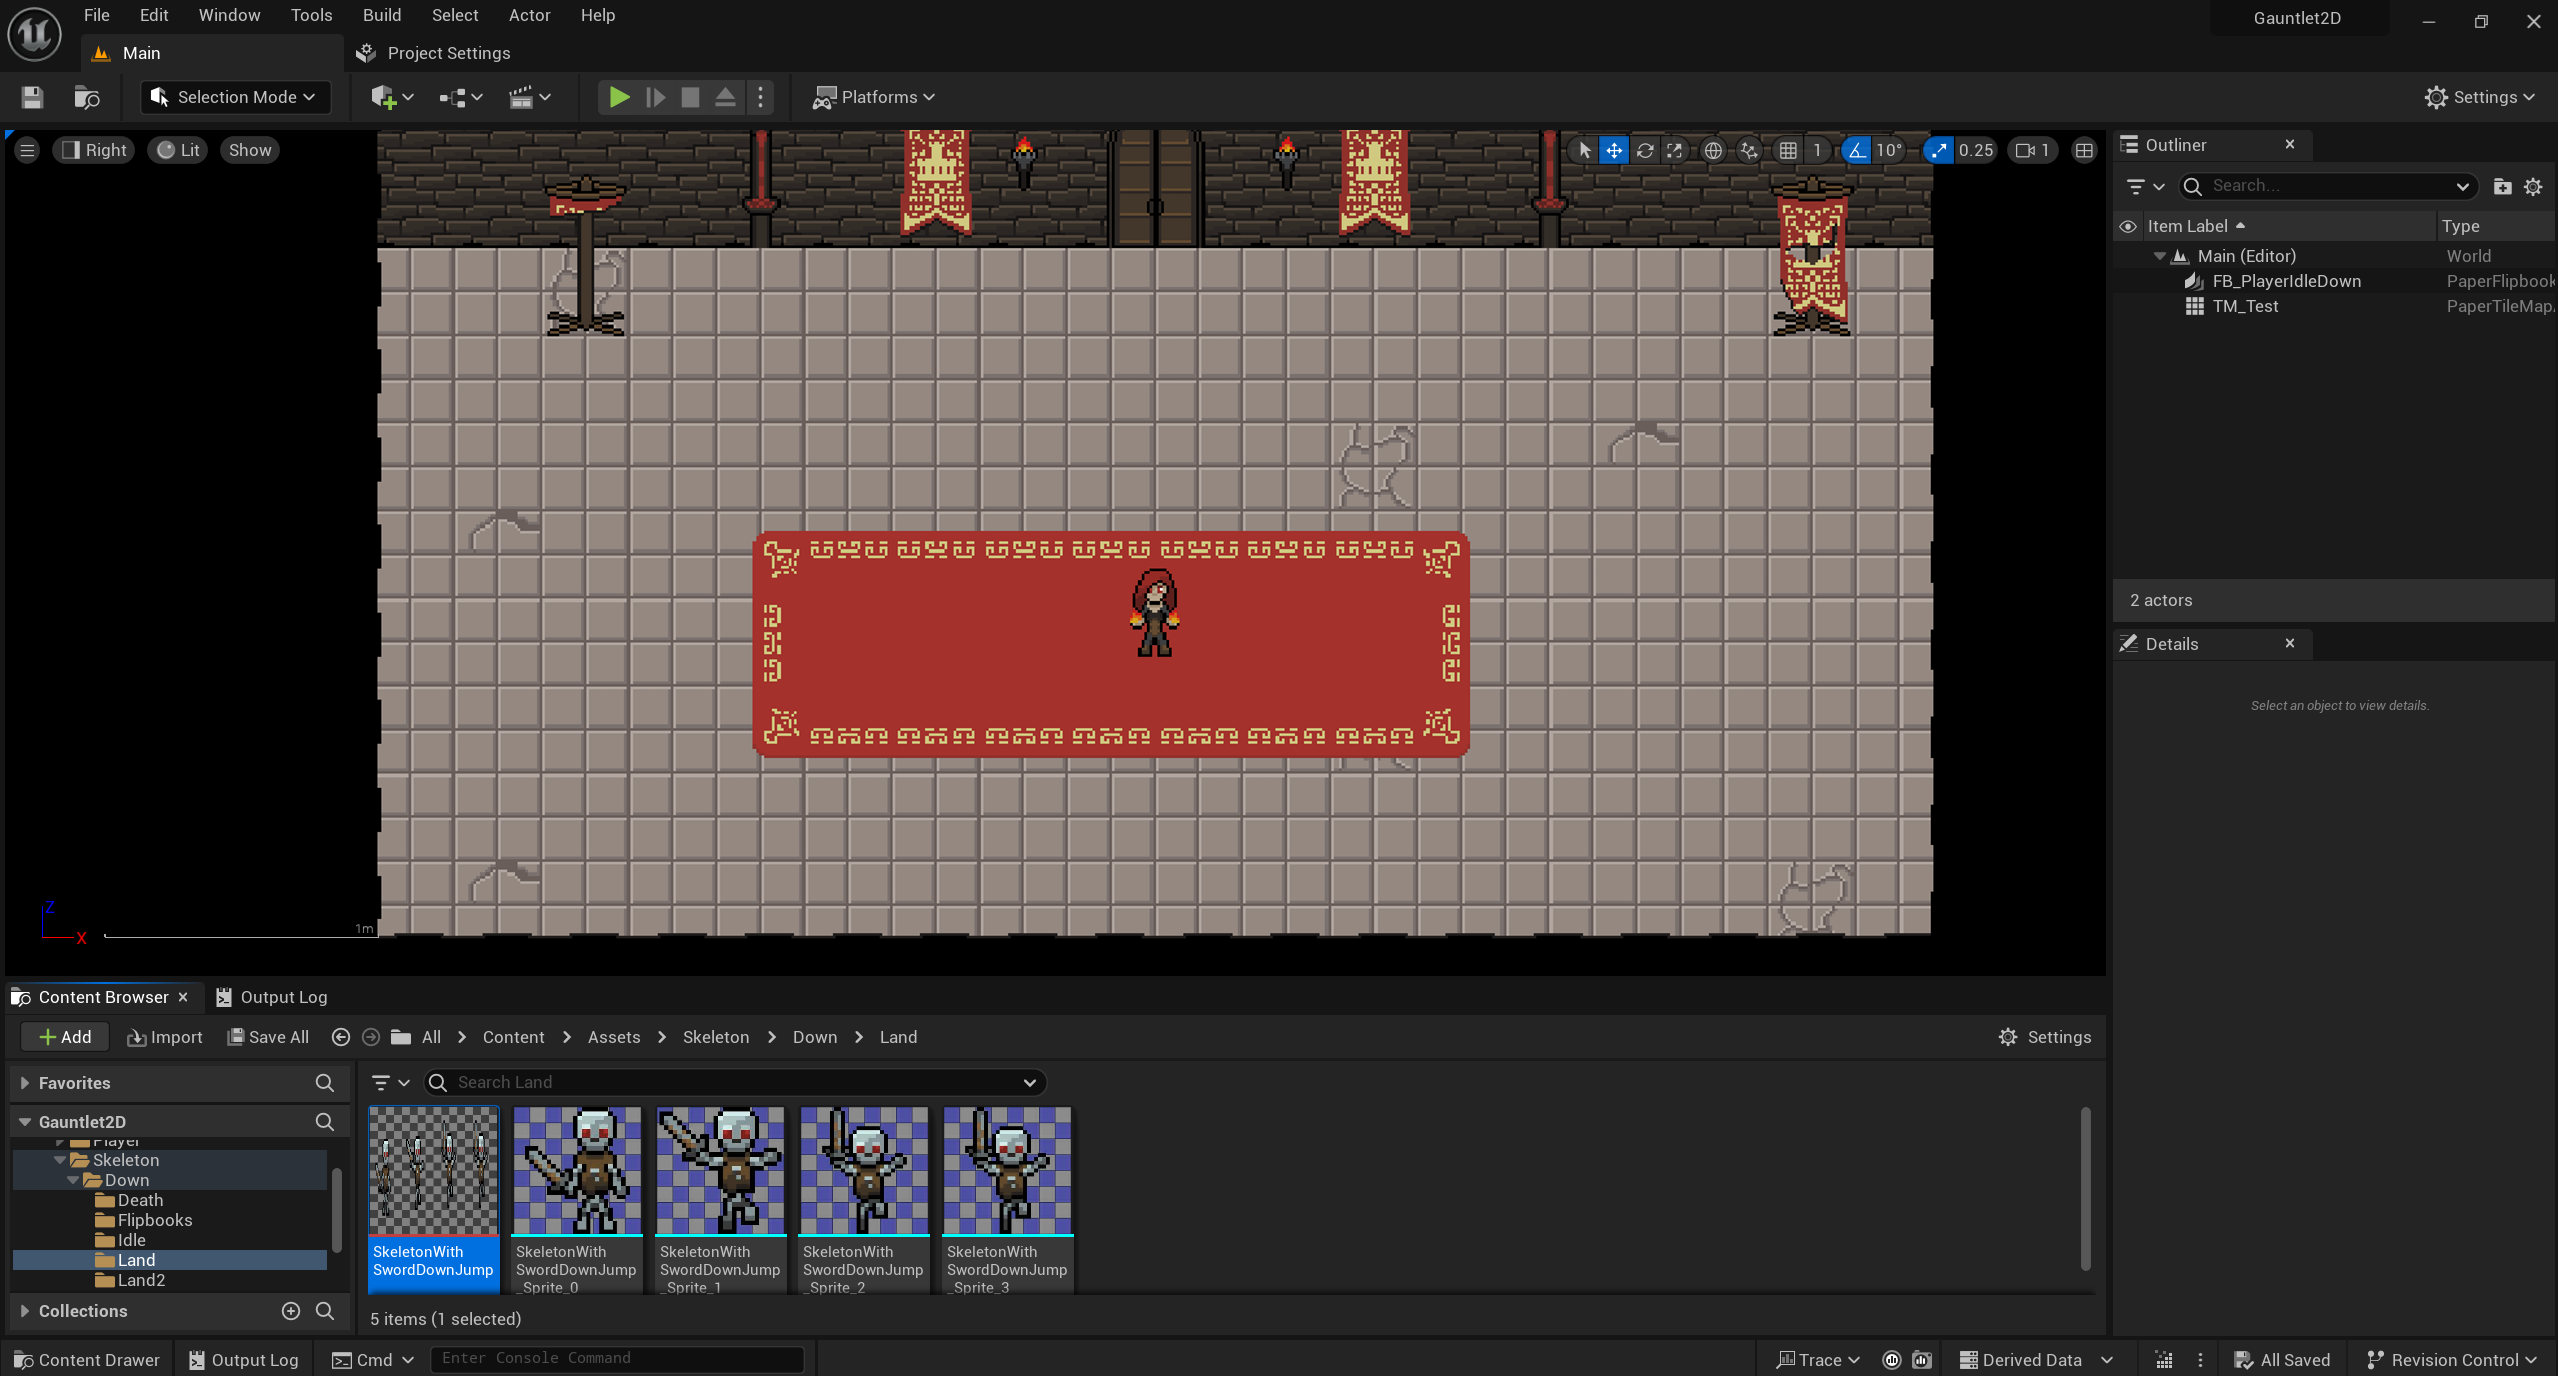
Luckily, Gauntlet's only level was really small and didn't require rule tiles to create. Once I got the tileset created, it didn't take long to recreate the Gauntlet 2D map:
Conclusion:
Welp, with most of the project set up and asset importing completed the next step is to start building the game and that means coding! I'll start with the player character and movement. That will be the subject of the next blog post, so stay tuned!
Comments
Log in with itch.io to leave a comment.
Amazing documentation!
It was a pleasure to read, although I haven't got enough understanding in 2D your writing managed to get through.
Waiting for the next updates!
Thanks! Porting this game has been a really good learning experience for me.
Tutorials and courses have been great to get a basic understanding of the engine, but nothing beats getting your hands dirty and making something.